- Главная
- Разное
- Бизнес и предпринимательство
- Образование
- Развлечения
- Государство
- Спорт
- Графика
- Культурология
- Еда и кулинария
- Лингвистика
- Религиоведение
- Черчение
- Физкультура
- ИЗО
- Психология
- Социология
- Английский язык
- Астрономия
- Алгебра
- Биология
- География
- Геометрия
- Детские презентации
- Информатика
- История
- Литература
- Маркетинг
- Математика
- Медицина
- Менеджмент
- Музыка
- МХК
- Немецкий язык
- ОБЖ
- Обществознание
- Окружающий мир
- Педагогика
- Русский язык
- Технология
- Физика
- Философия
- Химия
- Шаблоны, картинки для презентаций
- Экология
- Экономика
- Юриспруденция
Что такое findslide.org?
FindSlide.org - это сайт презентаций, докладов, шаблонов в формате PowerPoint.
Обратная связь
Email: Нажмите что бы посмотреть
Презентация на тему Halloween. 31 October
Содержание
- 2. История праздникаВ дохристианскую эпоху земли современной Англии,
- 3. С постепенным превращением Самхэйна в День всех
- 4. КАК ВЫРЕЗАТЬ ИЗ ТЫКВЫ ДЖЕК-ФОНАРЬ1. Взять большую
- 5. English traditionsOn the 31st of October there
- 6. Let’s learn new wordsFlour - мукаGhost -
- 7. Write the words instead of pictures1.
- 8. Read the statements and say “yes”
- 9. Solve the riddlesWhat is the biggest berry?_____________ What
- 10. Make up phrases as in the example1 get
- 11. “Halloween’s crossword”1.«Holy evening» that takes place оn
- 12. Make up as many sentences as possible.
- 13. Halloween’s CostumesELVIRA – MISTRESS OF THE DARKMIDNIGHT
- 14. ZOMBIE COSTUMESRemember, zombies
- 15. HALLOWEEN RECIPESHALLOWEEN PUNCH FROZEN HAND For most
- 16. The 1/2 gallon cardboard milk carton will
- 17. You can make your frozen hand using
- 18. JACK O' LANTERN PIZZA INGREDIENTS 1 pre-made
- 19. HALLOWEEN DECORATIONS You can go all out
- 20. 1.Decorations of the windows in the houses2.
- 21. Helloween WreathsA Halloween wreath hanging on your
- 22. Use your imagination, be creative and remember,
- 23. HALLOWEEN PARTY GAMESParty games will keep a
- 24. Tip: Check out your local dollar store
- 25. Halloween PictionaryObject of the Game: Collect points
- 29. Скачать презентацию
- 30. Похожие презентации

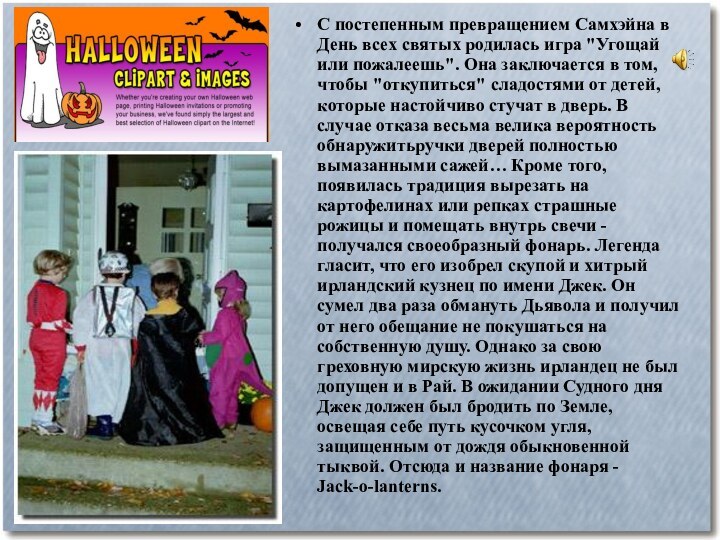






Слайд 3 С постепенным превращением Самхэйна в День всех святых
родилась игра "Угощай или пожалеешь". Она заключается в том,
чтобы "откупиться" сладостями от детей, которые настойчиво стучат в дверь. В случае отказа весьма велика вероятность обнаружитьручки дверей полностью вымазанными сажей… Кроме того, появилась традиция вырезать на картофелинах или репках страшные рожицы и помещать внутрь свечи - получался своеобразный фонарь. Легенда гласит, что его изобрел скупой и хитрый ирландский кузнец по имени Джек. Он сумел два раза обмануть Дьявола и получил от него обещание не покушаться на собственную душу. Однако за свою греховную мирскую жизнь ирландец не был допущен и в Рай. В ожидании Судного дня Джек должен был бродить по Земле, освещая себе путь кусочком угля, защищенным от дождя обыкновенной тыквой. Отсюда и название фонаря - Jack-o-lanterns.
Слайд 4
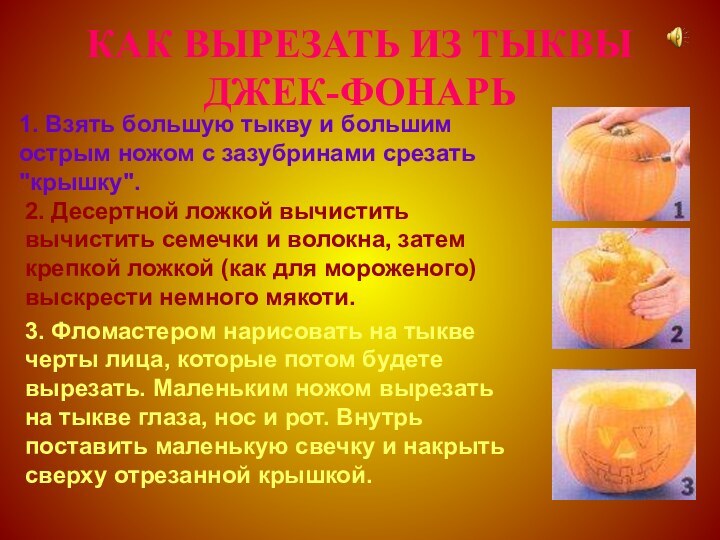
КАК ВЫРЕЗАТЬ ИЗ ТЫКВЫ ДЖЕК-ФОНАРЬ
1. Взять большую тыкву
и большим острым ножом с зазубринами срезать "крышку".
2.
Десертной ложкой вычистить вычистить семечки и волокна, затем крепкой ложкой (как для мороженого) выскрести немного мякоти. 3. Фломастером нарисовать на тыкве черты лица, которые потом будете вырезать. Маленьким ножом вырезать на тыкве глаза, нос и рот. Внутрь поставить маленькую свечку и накрыть сверху отрезанной крышкой.
Слайд 5
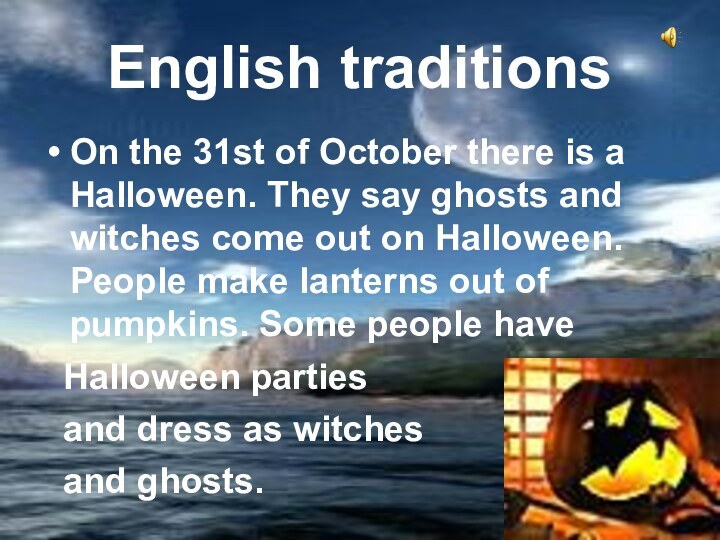
English traditions
On the 31st of October there is
a Halloween. They say ghosts and witches come out
on Halloween. People make lanterns out of pumpkins. Some people haveHalloween parties
and dress as witches
and ghosts.
Слайд 6
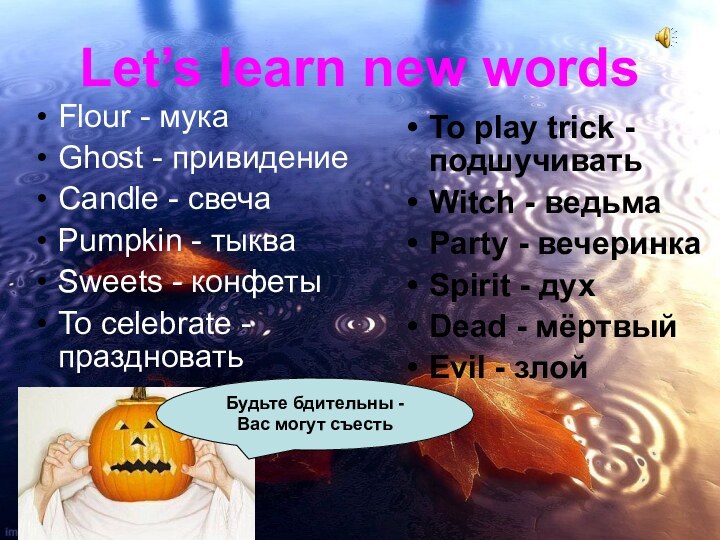
Let’s learn new words
Flour - мука
Ghost - привидение
Candle
- свеча
Pumpkin - тыква
Sweets - конфеты
To celebrate - праздновать
To
play trick - подшучиватьWitch - ведьма
Party - вечеринка
Spirit - дух
Dead - мёртвый
Evil - злой
Будьте бдительны - Вас могут съесть
Слайд 7
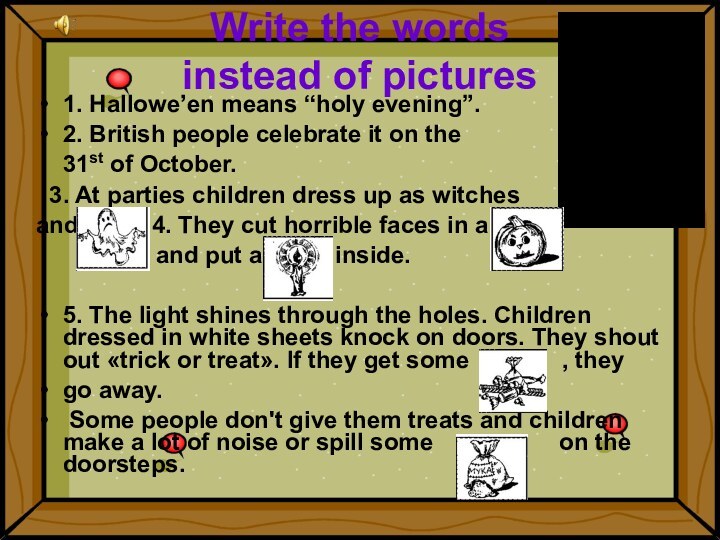
Write the words
instead of pictures
1. Hallowe’en means
“holy evening”.
2. British people celebrate it on the
31st of October.3. At parties children dress up as witches
and . 4. They cut horrible faces in a
and put a inside.
5. The light shines through the holes. Children dressed in white sheets knock on doors. They shout out «trick or treat». If they get some , they
go away.
Some people don't give them treats and children make a lot of noise or spill some on the doorsteps.
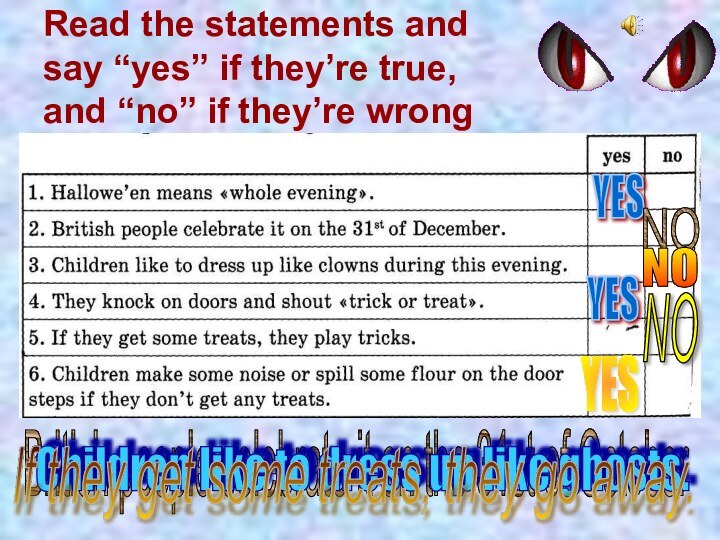
Слайд 8 Read the statements and say “yes” if they’re
true,
and “no” if they’re wrong
YES
NO
British people celebrate it
on the 31st of OctoberNO
Children like to dress up like ghosts.
YES
NO
If they get some treats, they go away.
YES
Слайд 9
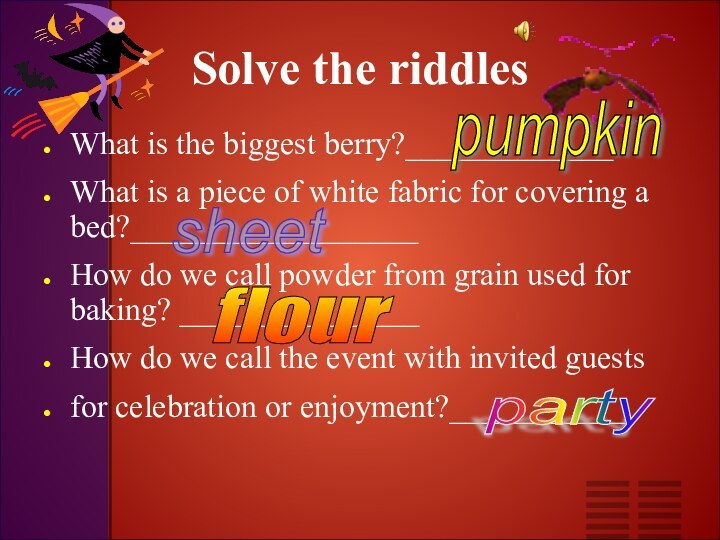
Solve the riddles
What is the biggest berry?_____________
What is
a piece of white fabric for covering a bed?__________________
How
do we call powder from grain used for baking? _______________ How do we call the event with invited guests
for celebration or enjoyment?___________
pumpkin
sheet
flour
party
Слайд 10
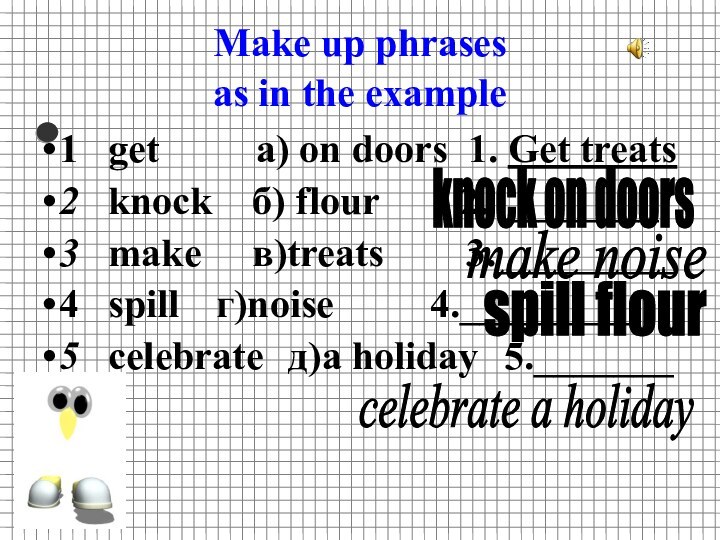
Make up phrases
as in the example
1 get
а) on doors 1. Get treats
2 knock б) flour
2. ________ 3 make в)treats 3._________
4 spill г)noise 4._________
5 celebrate д)a holiday 5._______
knock on doors
make noise
spill flour
celebrate a holiday
Слайд 11
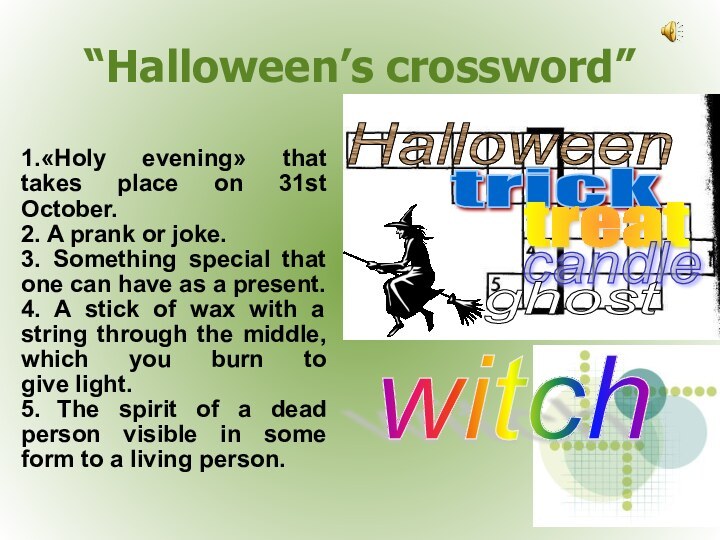
“Halloween’s crossword”
1.«Holy evening» that takes place оn 31st
October.
2. A prank or joke.
3. Something special that one
can have as a present.4. A stick of wax with a string through the middle, which you burn to give light.
5. The spirit of a dead person visible in some form to a living person.
Halloween
trick
treat
candle
ghost
witch
Слайд 13
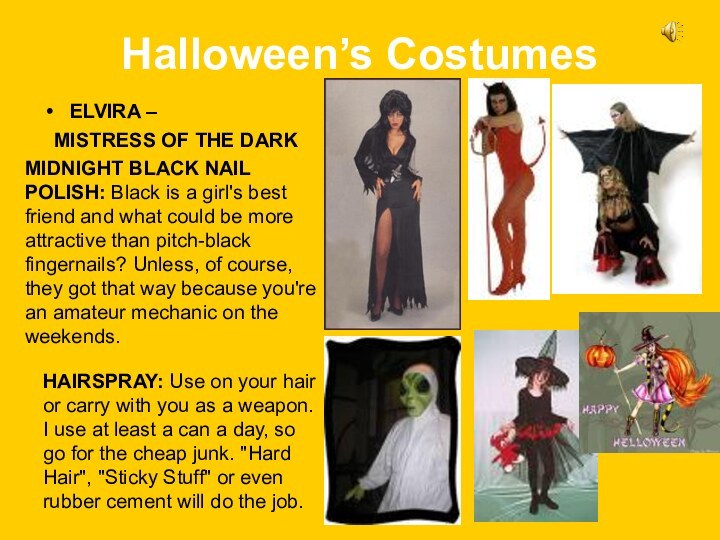
Halloween’s Costumes
ELVIRA –
MISTRESS OF THE DARK
MIDNIGHT BLACK
NAIL POLISH: Black is a girl's best friend and
what could be more attractive than pitch-black fingernails? Unless, of course, they got that way because you're an amateur mechanic on the weekends.HAIRSPRAY: Use on your hair or carry with you as a weapon. I use at least a can a day, so go for the cheap junk. "Hard Hair", "Sticky Stuff" or even rubber cement will do the job.
Слайд 14
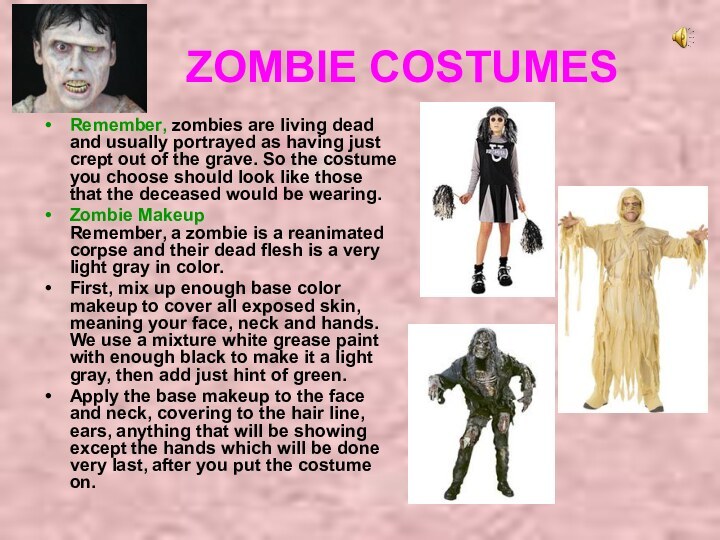
ZOMBIE COSTUMES
Remember, zombies are
living dead and usually portrayed as having just crept
out of the grave. So the costume you choose should look like those that the deceased would be wearing.Zombie Makeup Remember, a zombie is a reanimated corpse and their dead flesh is a very light gray in color.
First, mix up enough base color makeup to cover all exposed skin, meaning your face, neck and hands. We use a mixture white grease paint with enough black to make it a light gray, then add just hint of green.
Apply the base makeup to the face and neck, covering to the hair line, ears, anything that will be showing except the hands which will be done very last, after you put the costume on.
Слайд 15
HALLOWEEN RECIPES
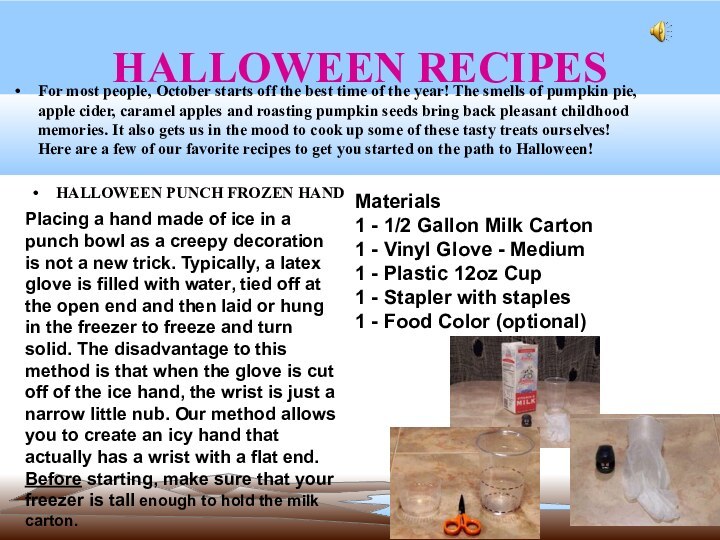
HALLOWEEN PUNCH FROZEN HAND
For most people,
October starts off the best time of the year!
The smells of pumpkin pie, apple cider, caramel apples and roasting pumpkin seeds bring back pleasant childhood memories. It also gets us in the mood to cook up some of these tasty treats ourselves! Here are a few of our favorite recipes to get you started on the path to Halloween!Placing a hand made of ice in a punch bowl as a creepy decoration is not a new trick. Typically, a latex glove is filled with water, tied off at the open end and then laid or hung in the freezer to freeze and turn solid. The disadvantage to this method is that when the glove is cut off of the ice hand, the wrist is just a narrow little nub. Our method allows you to create an icy hand that actually has a wrist with a flat end. Before starting, make sure that your freezer is tall enough to hold the milk carton.
Materials
1 - 1/2 Gallon Milk Carton
1 - Vinyl Glove - Medium
1 - Plastic 12oz Cup
1 - Stapler with staples
1 - Food Color (optional)
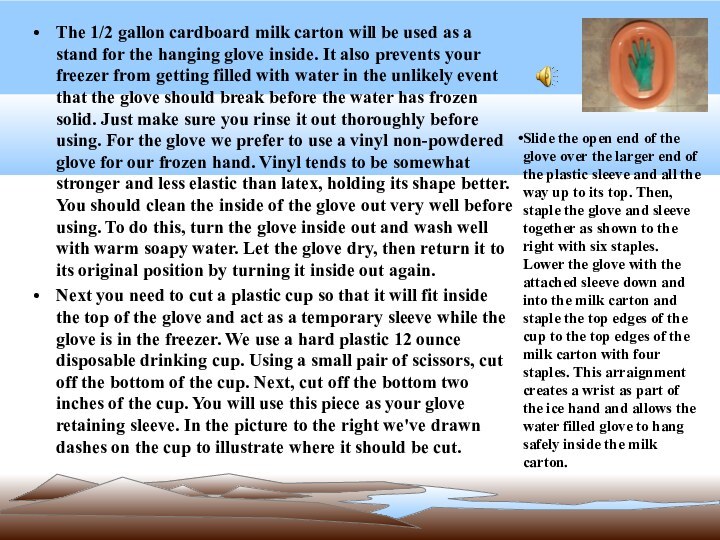
Слайд 16 The 1/2 gallon cardboard milk carton will be
used as a stand for the hanging glove inside.
It also prevents your freezer from getting filled with water in the unlikely event that the glove should break before the water has frozen solid. Just make sure you rinse it out thoroughly before using. For the glove we prefer to use a vinyl non-powdered glove for our frozen hand. Vinyl tends to be somewhat stronger and less elastic than latex, holding its shape better. You should clean the inside of the glove out very well before using. To do this, turn the glove inside out and wash well with warm soapy water. Let the glove dry, then return it to its original position by turning it inside out again.Next you need to cut a plastic cup so that it will fit inside the top of the glove and act as a temporary sleeve while the glove is in the freezer. We use a hard plastic 12 ounce disposable drinking cup. Using a small pair of scissors, cut off the bottom of the cup. Next, cut off the bottom two inches of the cup. You will use this piece as your glove retaining sleeve. In the picture to the right we've drawn dashes on the cup to illustrate where it should be cut.
Slide the open end of the glove over the larger end of the plastic sleeve and all the way up to its top. Then, staple the glove and sleeve together as shown to the right with six staples. Lower the glove with the attached sleeve down and into the milk carton and staple the top edges of the cup to the top edges of the milk carton with four staples. This arraignment creates a wrist as part of the ice hand and allows the water filled glove to hang safely inside the milk carton.
Слайд 17 You can make your frozen hand using plain
tap water or you can add a drop or
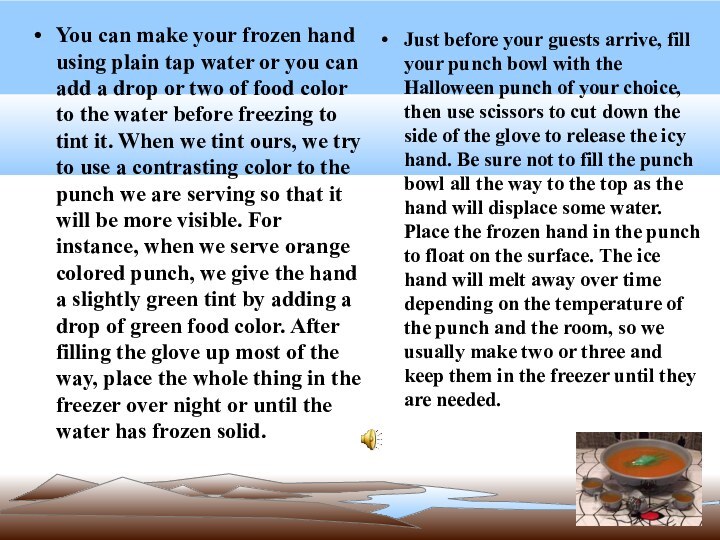
two of food color to the water before freezing to tint it. When we tint ours, we try to use a contrasting color to the punch we are serving so that it will be more visible. For instance, when we serve orange colored punch, we give the hand a slightly green tint by adding a drop of green food color. After filling the glove up most of the way, place the whole thing in the freezer over night or until the water has frozen solid.Just before your guests arrive, fill your punch bowl with the Halloween punch of your choice, then use scissors to cut down the side of the glove to release the icy hand. Be sure not to fill the punch bowl all the way to the top as the hand will displace some water. Place the frozen hand in the punch to float on the surface. The ice hand will melt away over time depending on the temperature of the punch and the room, so we usually make two or three and keep them in the freezer until they are needed.
Слайд 18
JACK O' LANTERN PIZZA
INGREDIENTS 1 pre-made soft
pizza crust 1 bag of pre-cut pepperoni 1 8 oz. bag
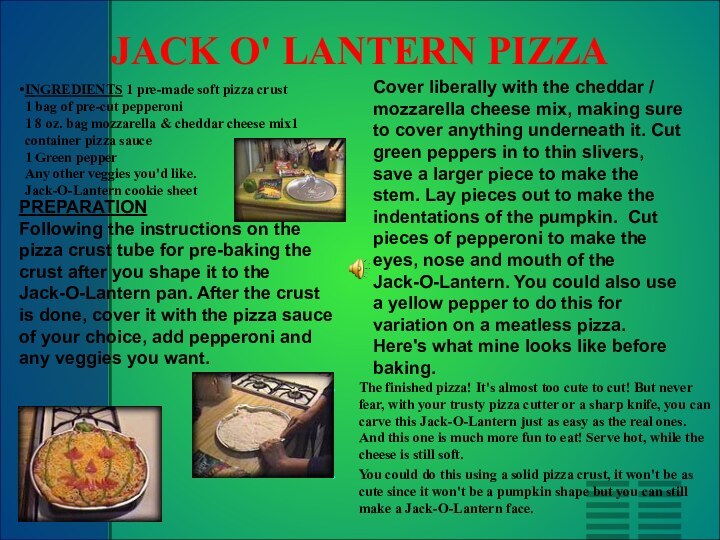
mozzarella & cheddar cheese mix1 container pizza sauce 1 Green pepper Any other veggies you'd like. Jack-O-Lantern cookie sheetThe finished pizza! It's almost too cute to cut! But never fear, with your trusty pizza cutter or a sharp knife, you can carve this Jack-O-Lantern just as easy as the real ones. And this one is much more fun to eat! Serve hot, while the cheese is still soft.
You could do this using a solid pizza crust, it won't be as cute since it won't be a pumpkin shape but you can still make a Jack-O-Lantern face.
PREPARATION
Following the instructions on the pizza crust tube for pre-baking the crust after you shape it to the Jack-O-Lantern pan. After the crust is done, cover it with the pizza sauce of your choice, add pepperoni and any veggies you want.
Cover liberally with the cheddar / mozzarella cheese mix, making sure to cover anything underneath it. Cut green peppers in to thin slivers, save a larger piece to make the stem. Lay pieces out to make the indentations of the pumpkin. Cut pieces of pepperoni to make the eyes, nose and mouth of the Jack-O-Lantern. You could also use a yellow pepper to do this for variation on a meatless pizza. Here's what mine looks like before baking.
Слайд 19
HALLOWEEN DECORATIONS
You can go all out decorating
your home, car, office space, dorm room, just about
anywhere that you spend any amount of time. You can find Halloween themed wall clocks, door knockers, door bells, candle holders, table displays. The list is endless!
Слайд 20
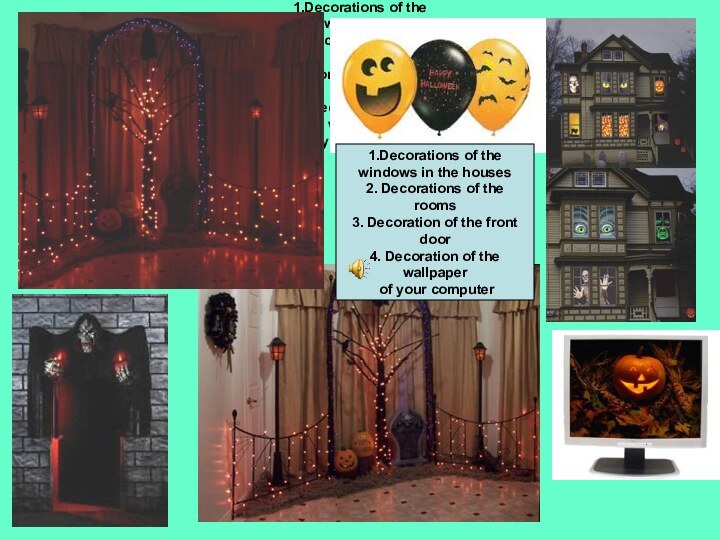
1.Decorations of the
windows in the houses
2. Decorations
of the
rooms
3. Decoration of the front
door
4. Decoration
of the wallpaper
of your computer
1.Decorations of the
windows in the houses
2. Decorations of the
rooms
3. Decoration of the front
door
4. Decoration of the
wallpaper
of your computer
Слайд 21
Helloween Wreaths
A Halloween wreath hanging on your front
door during the haunting season is a wonderful way
to say "Welcome to our Haunted Home" to your visitors. They usually don't cost very much and are an easy project that the entire family can enjoy making together. We hang one on every door, inside and out including the garage. They also make great wall decorations for both the home and office.This giant wreath, which we named Wreathzilla, is a full four feet across and is great for hanging on a garage door or large wall. All of the materials were found at local craft and departments stores and it only took an hour to put together. Total cost was under fifty dollars. We purchased a large grapevine wreath at a local arts & crafts store. We also bought a six foot garland of autumn leaves and wrapped it around the grapevine wreath. We added a giant spider web to the center and got a light-up spider to stick on it.
Слайд 22 Use your imagination, be creative and remember, there's
no such thing as too spooky or too many
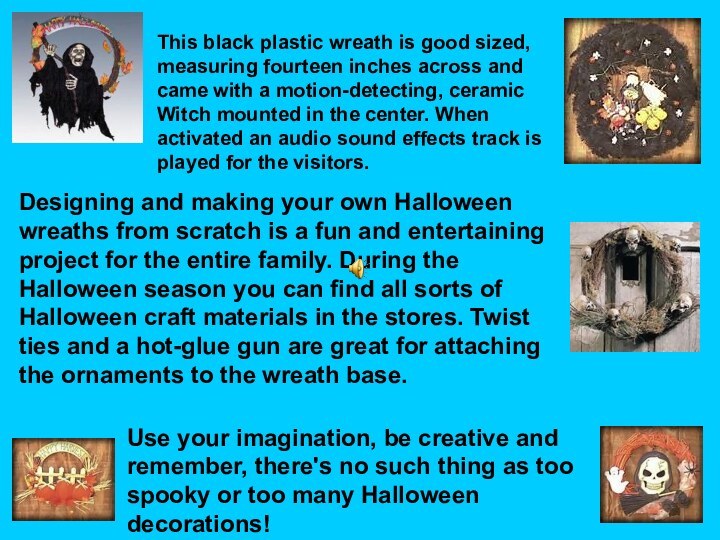
Halloween decorations!Designing and making your own Halloween wreaths from scratch is a fun and entertaining project for the entire family. During the Halloween season you can find all sorts of Halloween craft materials in the stores. Twist ties and a hot-glue gun are great for attaching the ornaments to the wreath base.
This black plastic wreath is good sized, measuring fourteen inches across and came with a motion-detecting, ceramic Witch mounted in the center. When activated an audio sound effects track is played for the visitors.
Слайд 23
HALLOWEEN PARTY GAMES
Party games will keep a Halloween
party, both children's and adult, flowing smoothly. All of
these games listed below can be adjusted for both types of parties easily. Sometimes it's just as much for adults to play children's games as it is for the kids! Below you'll find thirteen of our favorite Halloween party games, including the much asked for Hal O' Ween game!Hal O'Ween and His Squishy Body
Object of the game: You pass around paper cups to your guests while telling the story below. Do it in the dark or in a semi dark room and tell them they can't look in the cups. The cups are filled with gross "body parts" (food) and guests have to guess what it really is.
What You Need: Paper cups. Peeled grapes or olives, peeled stewed tomatoes, piece of uncooked liver or similar meat, wet corn silk or yarn, catsup, latex glove, gelatin, cold spaghetti, pickle, chicken gristle or hotdog end. Papers and pencils. Don't forget to keep a box of hand wipes around for guests to clean their hands off with when you are done with the game!
What To Do: Ahead of time, prepare the cups that are described below. Have everyone sit in a circle, then shut off most of the lights and start the story. You have to have the room fairly dark so that people cannot see what's inside of the cups. You can pass out paper and pencil a the beginning of the game and let them write down their guesses between each cup or you can have each player guess out loud between each cup. At the very end of the game, you can tell them what is in each cup, but wait until the end!!
Слайд 24 Tip: Check out your local dollar store and
pick up some festive Halloween paper or plastic drinking
cups or glasses to add Halloween flair to the game!Here's The Story: Tell the story as you pass around each cup. "Once in this town there lived a man named Hal O' Ween. T'was years ago, on this very night, that he was murdered out of spite. They say these are his remains.
Here is his brain, which now feels no pain. use a peeled squishy tomato or stewed tomatoes
Here are his eyes, still swollen with surprise. use two frozen, peeled grapes or black olives
Here is his heart. Be careful lest it start! use a large lump of uncooked liver or similar meat
Now we have his hair, which once was so fair! use a handful of corn silk or wet fur or yarn
Feel these drops of his blood. All the rest turned to mud. use a little catsup thinned with warm water
One hand all alone, just rotting flesh and bone. use a wet latex glove filled with red gelatin
Here is his ear. Nevermore will he hear! use a dried apricot or similar dried fruit
This is his nose. Now to never smell a rose. use the end of a pickle, a hot dog or a soft chicken bone or gristle
These worms are all that's left to feel. For them Hal O'Ween was a lovely meal! use cold, wet spaghetti
After the lights are back on and everyone has finished writing down their guesses, collect the papers. As you check their guesses, you can show everyone what was really in the cups. Give a nice prize to the person with the most correct answers.
Слайд 25
Halloween Pictionary
Object of the Game: Collect points for
your team by guessing what scary words drawn pictures
stand for.What You Do: If you are familiar with the game of Pictionary, then you'll know what to do. If not, a short explanation: Pictionary is a game played by two teams of people. One team sends a person up to aboard to draw a word in picture, they have to guess what it is. This is a Halloween version of that game.
Before the party, make slips of paper with Halloween words such as Mummy, Tombstone, Bats, Vampires, Jack-O-Lantern, Spider, Witch, Black Cat, Candy Corn, etc. Place them in a bowl of some kind, (a plastic child's pumpkin for trick or treating works great).
Divide the party goers into two teams. One player from the first team starts by picking a slip of paper from the bowl. Use a chalkboard, erasable marker board, or large pad of drawing paper and pen to draw items related to the word, players can not write the word or draw the exact picture of the word. Their team tries to guess what the word is. Set a 2 minute time limit. The other team goes next. Keep rotating until everyone has a chance to draw.
You can keep score and have one team win, or just play for the fun of it. This is also a fun game to play using titles of horror films. Do it the same way but use movies like Halloween, Dracula, The Wolfman or any horror film.
What You Need: Plastic Pumpkin (or other container) Chalk board or drawing board Something to write with Slips of paper


